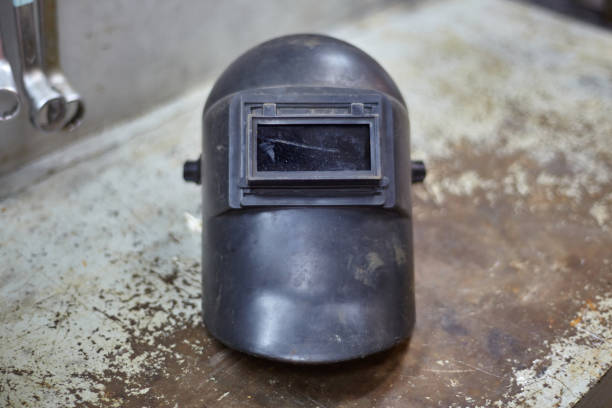
A welding helmet is more than just personal protective equipment (PPE); it’s the last line of defense for your visual health and the key to working efficiently and accurately. Let’s face it: a top-of-the-line automatic dimming welding helmet is expensive, and it involves a daily “life-or-death struggle” against sparks, molten slag, sweat, and dust.
When the automatic lens malfunctions or your field of vision becomes scratched, your safety and work performance are compromised. However, most welders don’t include welding helmet maintenance in their daily routine.
The good news is, you don’t need to be a tech expert. By mastering some simple, practical tips on replacing protective plates , managing batteries, and adjusting the headgear system , you can keep your welding helmet performing like new and significantly extend its lifespan. Consider this article your welding helmet ‘s “first aid kit” and “maintenance manual.”
I. Visual Defense Line: Protective chip replacement “Surgical” Lens Cleaning
Cover lenses are the most easily overlooked yet most critical consumable in welding helmets . They are “disposable shields” that prevent molten slag from hitting the expensive LCD screen .
Outer protective film: When and how to replace it
Timing of replacement:
Blurred visibility: When you start to notice scratches, abrasions, spatter, or fogging in your field of vision that affects your judgment of weld details, you must replace the weld. Remember, visibility directly equals welding safety and precision .
Practical operating steps:
Preparation: Purchase original or high-quality compatible protective plates . Different models of welding mask protective plates have different sizes; never attempt to cut or use incompatible substitutes.

Elegant disassembly: Many helmets (such as the 3M Speedglas series) are designed with quick-release mechanisms. Gently pry or slide the fixed frame open. Avoid forceful disassembly to prevent damage to the helmet shell.
Dust-free installation: After peeling off the protective film from the new lens , do not touch the center of the lens with your fingers . Carefully insert it into the slot in the correct direction (usually indicated by a locking mechanism), ensuring it is flat and free of fingerprints.
Daily cleaning of the inner automatic optical lens
the LCD screen of an automatic variable-voltage welding mask like you would ordinary glass .
Golden Rule: Never use solvents, abrasives, or cleaning agents containing ammonia! They will damage the optical coating and sensitive circuitry on the LCD screen .
Cleaning process:
Dry wiping: Use a dry, soft microfiber cloth (like the cloth you use to wipe your glasses) to gently wipe away surface dust and dry residue.
Wet wiping (stain removal): For stubborn oil stains or fingerprints, use diluted neutral soapy water or a special lens cleaner, dampen a microfiber cloth, and gently wipe.
Quick drying: Immediately after wiping, use another dry microfiber cloth to absorb the moisture to avoid water stains affecting optical quality.
II. Core Motivation: Battery Inspection, replacement and long-term storage
automatic beam adjustment function is electrically powered. If the battery fails, your welding helmet becomes a dangerous “fixed-focus” mask.
“Lighting Test” to ensure reliable automatic dimming
Power supply mode: Remember that your welding helmet primarily relies on a hybrid power source of solar energy and lithium batteries (such as CR2032 or CR2450). Solar energy is supplementary, while lithium batteries are the core driving force.
Regular checks: Perform a simple “light test” weekly . With the welding helmet set to normal sensitivity, quickly flash the lens with a flashlight or work light. If the light changes slowly, flashes, or doesn’t change at all, the battery may need to be replaced.
Electric welding helmet battery Replacement and storage
When to replace: In addition to test failure, you should take action when you notice that the automatic dimming response is slowing down, the color is becoming lighter, or the battery indicator light on the helmet is on.
Practical operating steps:
Open with care: Locate the battery compartment cover (usually on the outside or side of the helmet), use the correct tool to open it, and avoid damaging the plastic clips.
Correct installation: Pay attention to the positive and negative terminals of the new battery . Always use high-quality, fully charged new batteries ; inferior batteries may cause performance instability.
Long-term storage tip: If you know you won’t be using your welding helmet for more than a month , removing the replaceable battery is best practice. Store it in a dry, room-temperature environment. This will completely prevent battery leakage from corroding expensive circuit boards.
III. Ergonomics: Head-mounted system Maintenance and adjustments (which determine your comfort level)
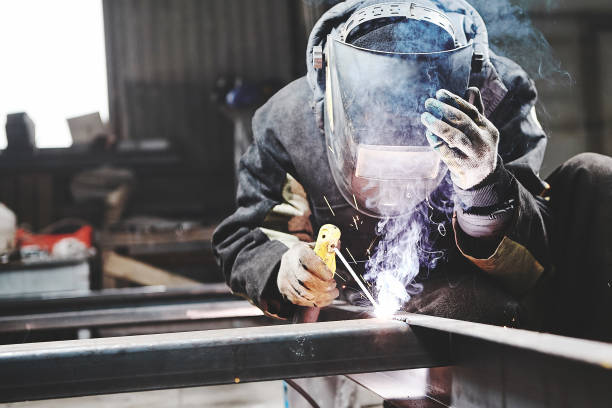
Even the most advanced welding helmet cannot guarantee your work accuracy if it is not comfortable to wear .
Cleaning, inspection and counterweight balancing
Sweatband Care: Sweatbands are the part most prone to bacterial growth and odor. Regularly hand-washing sweatbands with mild soapy water and thoroughly drying them can significantly improve wearing comfort.
Adjustment mechanism inspection: Regularly check that the ratchet adjuster and locking mechanism are flexible and secure. If the adjuster becomes loose during welding, the helmet will drop, affecting not only vision but also causing neck fatigue.
Weight balance adjustment: Adjust the pivot points/knobs on the top and sides of the helmet . By fine-tuning, find the most suitable weight balance point for you , so that the weight of the helmet is evenly distributed. This is key to extending your comfort during long working hours .
Replace worn Head-mounted system part
When to replace: The head-mounted system must be replaced when the plastic frame cracks , the ratchet adjustment becomes difficult , or the sweatband is damaged.
Practical tip: Your safety isn’t worth the risk. Always purchase original or high-quality replacement parts that match your welding helmet model . A faulty headgear system could cause the helmet to come loose unexpectedly in grinding mode, resulting in personal injury.
Conclusion: Let your tools work for you.
professional welding helmet is not difficult; it’s a daily task with the highest return on investment. Maintaining the protective plates , monitoring battery status, and adjusting the headgear system are the three cornerstones for extending the life of a welding helmet and ensuring safety.
these practical operating steps to your workbench checklist. A well-maintained welding helmet not only saves you the cost of replacing it with a new one, but more importantly, it provides the highest level of reliable safety protection every time you ignite the arc .
Now, please open your welding helmet: Does your outer protective plate need replacing? Or, how long has it been since you checked your battery? Feel free to share your helmet maintenance experience in the comments!